Core Battery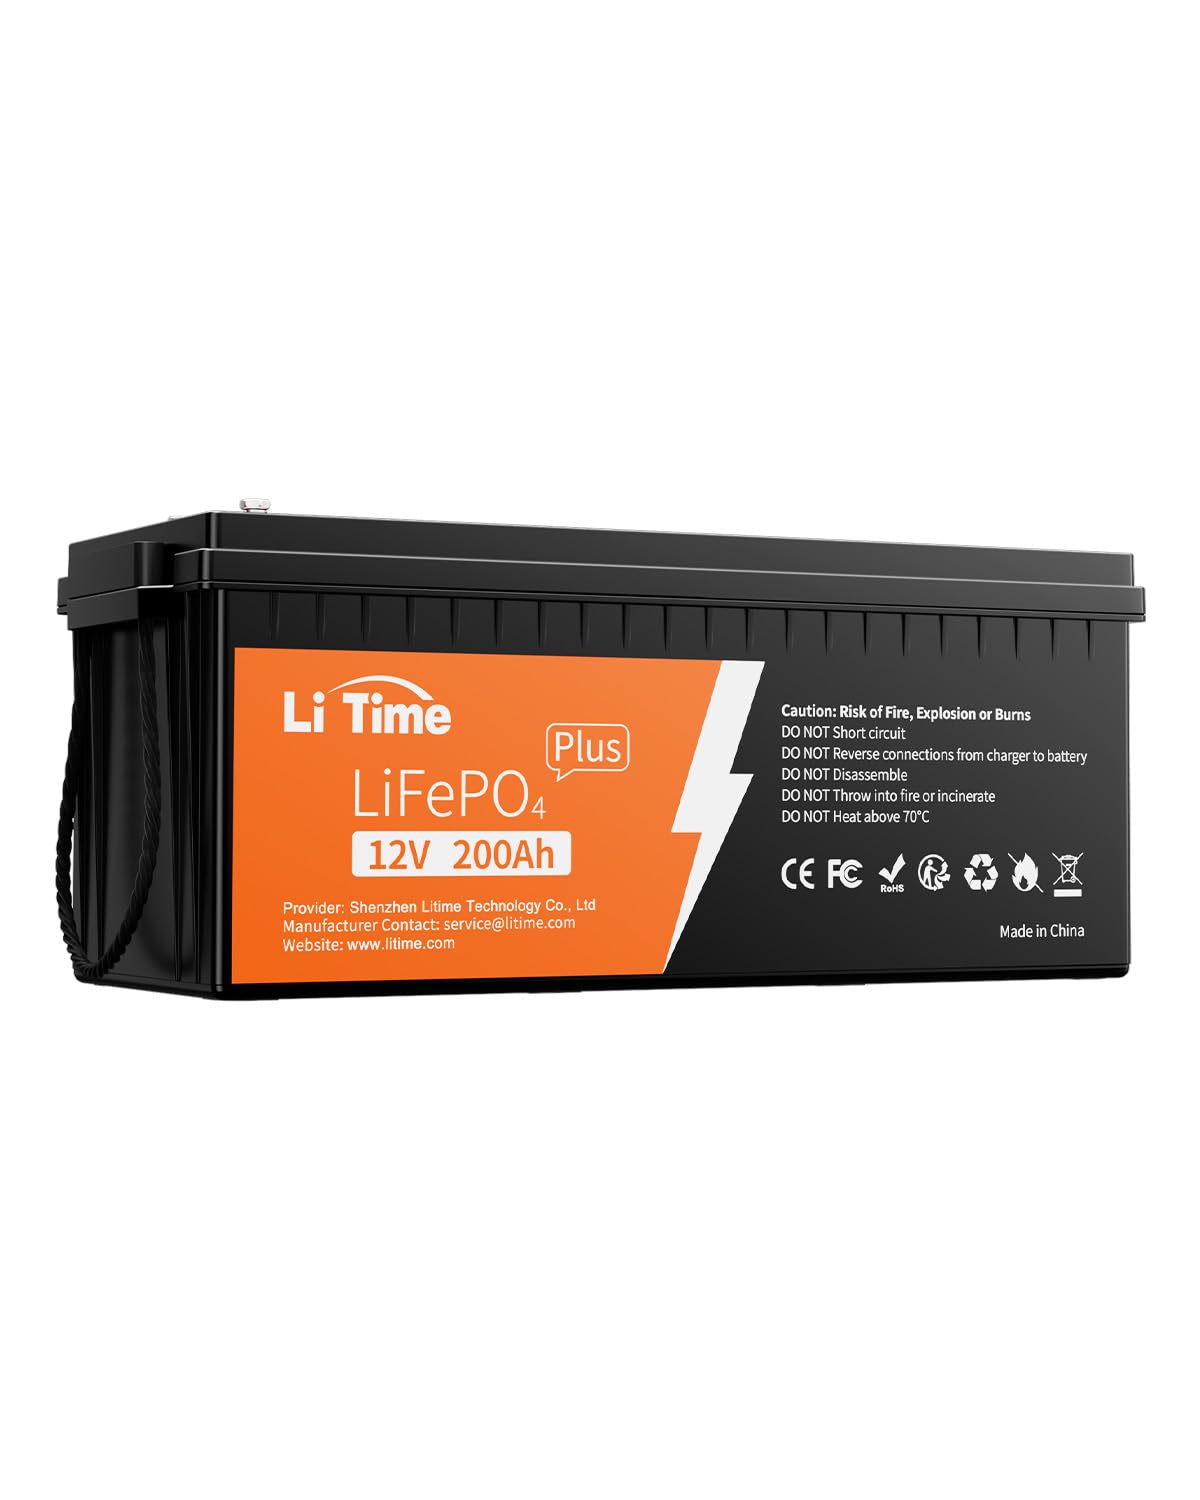
LiTime
LiTime 12V 200Ah Plus LiFePO4 Battery, 200A BMS, 2560Wh, 4000+ Deep Cycles
- ✓4.6 ★ (507 reviews)
- ✓200A BMS — ~2,560W continuous, enough for a 2000W inverter
$519.99
Prices & availability may change.
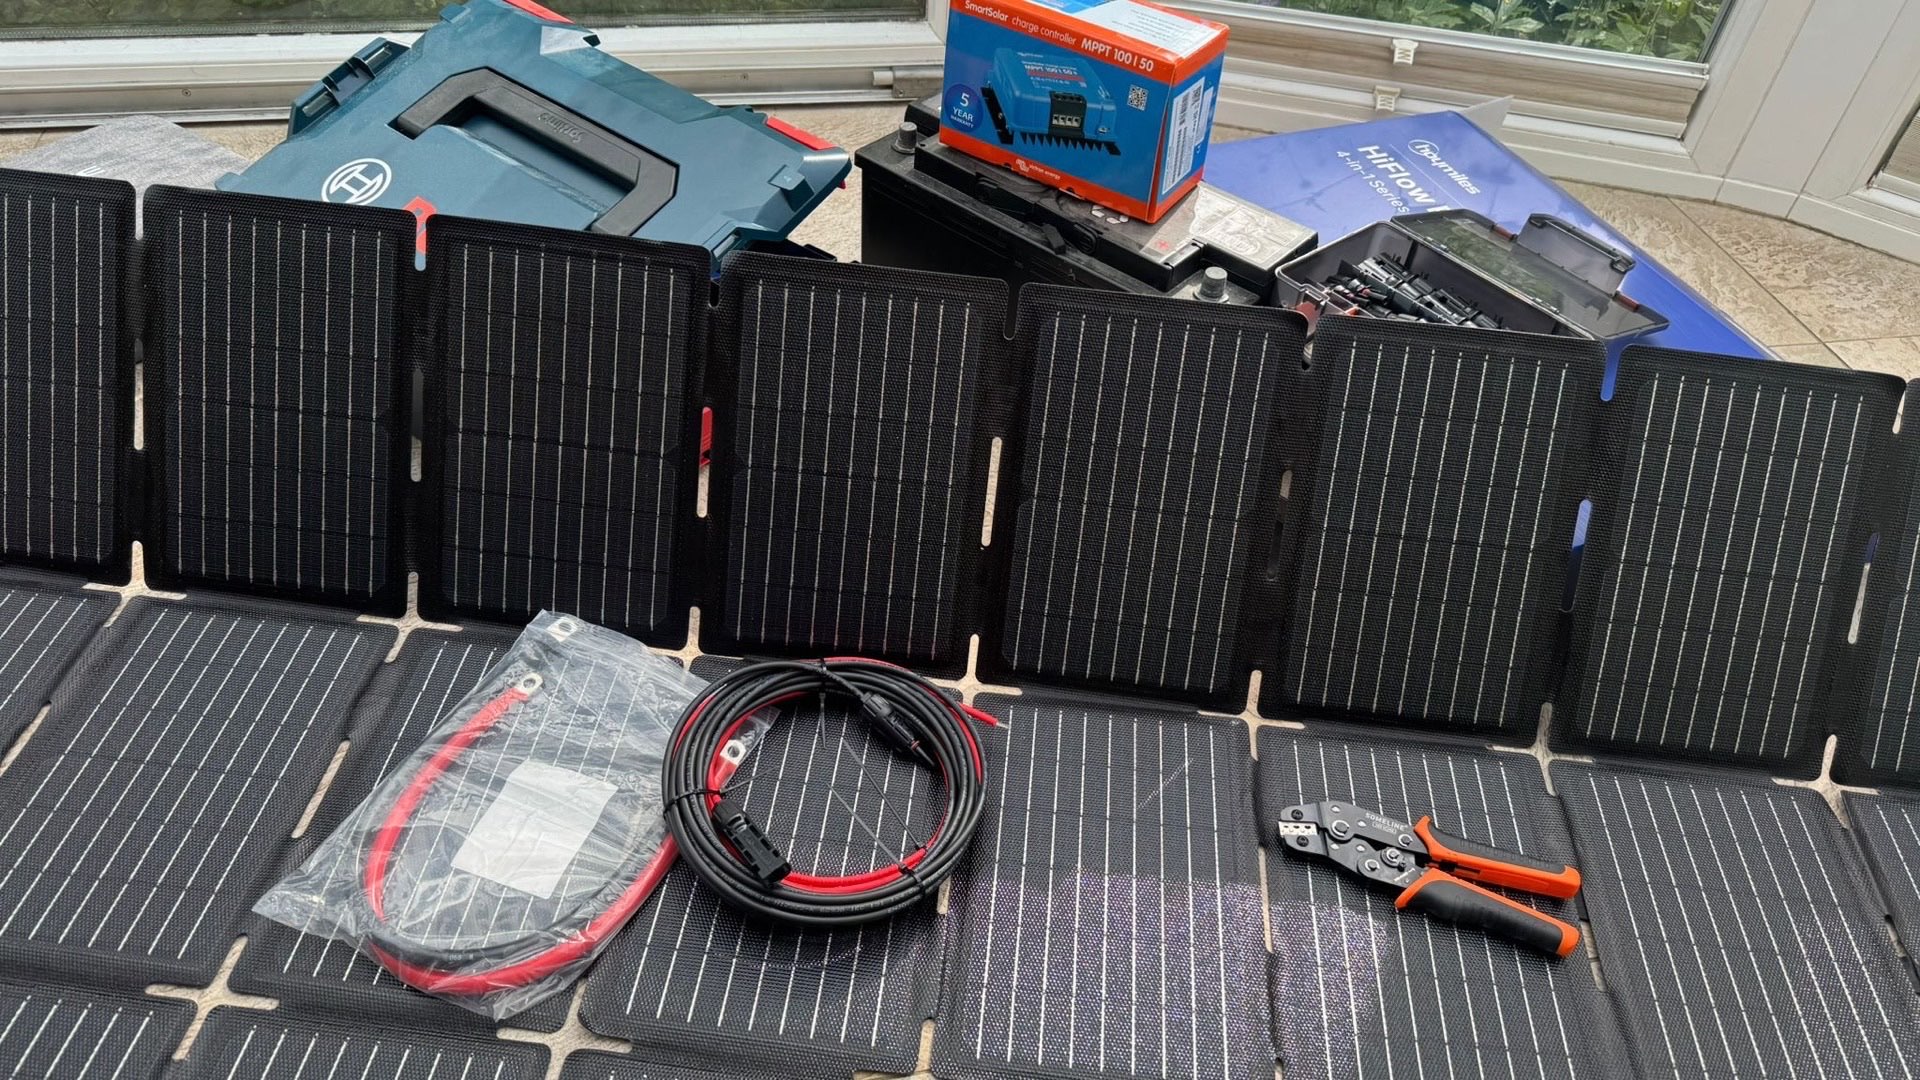
My 2000W DIY solar setup with LiFePO4 battery, MPPT charge controller and a 400 W foldable panel — built for expandable capacity and more kWh per dollar as you scale, not for beating a pre-built on a 2 kWh sticker price. Complete bill of materials, step-by-step wiring, and a side-by-side with EcoFlow DELTA Pro and Jackery Explorer 2000 v2.
Transparency: links marked (*) are affiliate links — if you buy through them we may earn a commission at no extra cost to you. It doesn't change our recommendations.
Last updated: May 2026 · Product prices and ASINs last verified on 2026-05-22. Related guide: Plug-and-play home battery for NEM 3.0 peak shaving.
I was standing in my garage, staring at the price tag for a big-name 2 kWh power station. $1,700. Seriously? It felt like buying a designer handbag just to carry my tools. I knew there had to be a way to get the same juice — straight off solar — for my workshop without taking out a second mortgage.
Turns out, there is. For a little over a thousand dollars and a Saturday afternoon, I built a DIY solar power system with more usable capacity and room to grow: a LiFePO4 battery, an MPPT solar charge controller, a 400 W foldable panel, a 2000 W pure-sine inverter and a proper cable kit. Here’s exactly how I did it, the five parts you need, and the one dumb mistake I made so you don’t have to.
To be clear: I’m not building a portable power station with a handle and a screen. I’m building a modular DIY solar system — a battery, an inverter, an MPPT charge controller, solar panels and safe wiring — that gets permanently installed. A power-station alternative for a workshop, garage, off-grid cabin or a permanently-mounted RV/van build.
⚠️ Safety disclaimer: This article shares my personal experience with a DIY solar setup. Descriptions may be incomplete or inaccurate, and products change constantly. You build at your own risk. Working with 12V/24V LiFePO4 batteries, 2000W inverters and 120V AC wiring requires basic electrical knowledge. If you’re not confident with DC/AC wiring, fuse sizing, GFCI installation, or grounding, hire a licensed electrician — cable fires and electrical injuries are real. For any setup tied to your home’s main panel, follow NEC code and local permit requirements.
You’re here because you’re torn between “I’ll build it myself” and “I’ll just buy a finished box.” This decision table answers it in 5 seconds:
| Your situation | Better choice |
|---|---|
| Garage, workshop, off-grid cabin (stationary) | DIY solar setup |
| Permanent RV / van build | DIY or hybrid all-in-one |
| Weekend camping, tailgating, job-site power | Pre-built (EcoFlow / Jackery) |
| Home-office UPS for outages | Pre-built (UPS switchover) |
| Max kWh per dollar | DIY solar setup |
| Max comfort + app + warranty | EcoFlow / Jackery |
| Off-grid cabin with future expansion | DIY solar setup |
| Wiring + crimping scares me | Pre-built |
If your answers lean “stationary + max capacity,” keep reading — the rest of this article is your build guide. If you’re more “mobile + comfort,” scroll down to the pre-built recommendations section.
My goal was simple: 2000 watts of continuous 120V AC power, at least 2 kWh of solar-charged storage, and a 400 W foldable panel to keep it topped off for my garage projects. Here’s how my DIY solar system stacks up against the big-brand power stations.
| Feature | DIY Budget (200Ah / 12V) ★ Recommended | DIY Premium (2× 280Ah, 24V) | EcoFlow DELTA Pro | Jackery Explorer 2000 v2 |
|---|---|---|---|---|
| Price | ~$1,200 | ~$1,700 | $1,699 | $799 |
| Capacity (nominal) | 2.56 kWh / ~2.0 kWh usable | 7.2 kWh / ~5.7 kWh usable | 3.6 kWh | 2.04 kWh |
| Continuous output | 2000W (4000W surge) | 2000W (4000W surge) | 3600W | 2200W |
| Solar input | up to 700W (Victron 100/50) | up to 1400W (Victron 100/50, 24V) | 1600W | 1400W |
| Mobility | Stationary | Stationary | Portable (99 lb, wheels) | Portable (38.6 lb) |
| Warranty | 5–10 yrs per component | 5–10 yrs per component | 5 years | 5 years |
| App control | Optional (VictronConnect) | Optional (VictronConnect) | Yes (EcoFlow app) | Yes (Jackery app) |
Pre-built power stations win on portability, UPS and polish — and at the compact 2 kWh tier, on price too. A budget DIY 2 kWh build now lands around $1,200, more than a discounted $799 Jackery 2000 v2 of similar capacity. Where DIY pulls clearly ahead is higher capacity and expandability: premium DIY at ~$1,700 gives you ~7.2 kWh — more than 2× the capacity of any same-price pre-built — and you can keep adding batteries one at a time. (Newer pre-built options like the EcoFlow DELTA Pro 3 — 4.1 kWh, ~$2,099 — raise the bar too.)
Short answer: Under 2000 W continuous → 12 V (cheaper components, broader US hardware availability, simpler wiring). Above 2000 W or with long DC runs → 24 V (current halves, so you can use much thinner copper and smaller fuses — easily $50–100 less cable on a typical build). Both deliver 120 V via the inverter; the trade-off sits entirely on the DC side.
This is the heart of the system. Only choice: LiFePO4 (LFP). I’ll never use another chemistry for a project like this.
The bigger question: 12V or 24V?
Rule of thumb: Up to 1000W, 12V is fine. At 2000W or more, 24V wins. Why?
| Load | 12V current | 24V current | Cable recommendation |
|---|---|---|---|
| 1000W | ~83 A | ~42 A | 4 AWG (12V) / 8 AWG (24V) |
| 2000W | ~167 A | ~83 A | 1/0 AWG (12V) / 4 AWG (24V) |
| 3000W | ~250 A | ~125 A | 2/0 AWG (12V) / 2 AWG (24V) |
At 2000W, 24V halves the current from ~167A to ~83A. In practice: instead of $80–$120 for 1/0 AWG, 4 AWG runs you $25–$40 — and the fuse is cheaper. If you’re starting fresh today, I’d pick 24V almost every time. More on this: 12V or 24V in detail.
Concrete picks (all on Amazon.com):
In all cases: built-in BMS is non-negotiable. LiTime / Renogy / Eco-Worthy / Battle Born are safe bets. No-name third-party Amazon batteries: skip them.
Short answer: Pure sine wave only — modified sine kills laptop chargers and smart-appliance controls. For 12 V/2000 W, the Renogy 2000 W pure-sine (~$240) is the value pick; for 24 V the Victron MultiPlus or the Renogy 24 V variant. Mandatory: a Class-T fuse at the battery (LiFePO4 has very high short-circuit current; ANL/MEGA often won’t safely break it) and 1/0–2/0 AWG copper.
This little box turns the 12V DC from your battery into 120V AC for your tools and gadgets. You need a pure sine wave inverter, period. The cheaper “modified sine wave” ones can fry sensitive electronics like laptop chargers, fancy coffee makers, and audio gear. For the extra $80, it’s a no-brainer.
I looked at three tiers when shopping in the US market:
⚠️ Wiring warning — expert tip: A 2000W inverter pulls over 165 amps at max load on a 12V system! Never use the thin cables that ship in the box with budget inverters. For this power level you need 1/0 AWG copper cable minimum and a class-T or ANL fuse rated 250–300A mounted as close as practicable to the battery positive terminal (commonly within ~18 inches). Skip this and your cables become heating elements — see my mistake further down.
Make sure your inverter has:
Pro tip I learned the hard way: wire the inverter directly to the battery terminals. Don’t run it through your charge controller’s load ports. And keep that cable run short — under 5 feet at 1/0 AWG.
Short answer: MPPT is mandatory once panel power exceeds 200 W — 15–30% more yield over PWM. For 400–600 W of solar, a Victron SmartSolar MPPT 100/30 (~$150) or Renogy Rover 30A is the standard pick. Sizing rule: panel V_OC × 1.25 must stay under the controller’s max input (a 36 V V_OC module × 1.25 = 45 V → a 75 V controller is enough).
This is the traffic cop between your solar panels and your battery. Get an MPPT (Maximum Power Point Tracking) controller. It’s way smarter than the old, cheap PWM type and will squeeze 15–30% more power out of your panels on any given day.
Here’s how to pick the right size:
| Panel V_OC | MPPT model |
|---|---|
| up to 60V | Victron 100/30 or 100/50 |
| up to 100V | Victron 150/50 or Eco-Worthy 100/60 |
| up to 150V | Victron 250/60 (series-string of panels) |
The golden rule: Your panel’s open-circuit voltage (V_OC) multiplied by 1.25 must be less than the controller’s max input voltage. On a bright, freezing cold morning, your panels can briefly produce a higher voltage, and you don’t want to fry your controller. Background: MPPT vs. PWM and correct sizing.
Concrete picks:
You’ve got two main choices here:
For my setup I went with a foldable 400 W panel I could angle toward the sun and fold away between projects — a rigid panel is the cheaper, longer-lived pick if you’ve got a permanent mounting spot. One thing to remember: if you have multiple panels and one might get shaded by a tree or chimney, wire them in parallel, not series.
Concrete picks:
This is the boring stuff, but it’s what separates a safe, reliable system from a fire hazard. Don’t cheap out here.
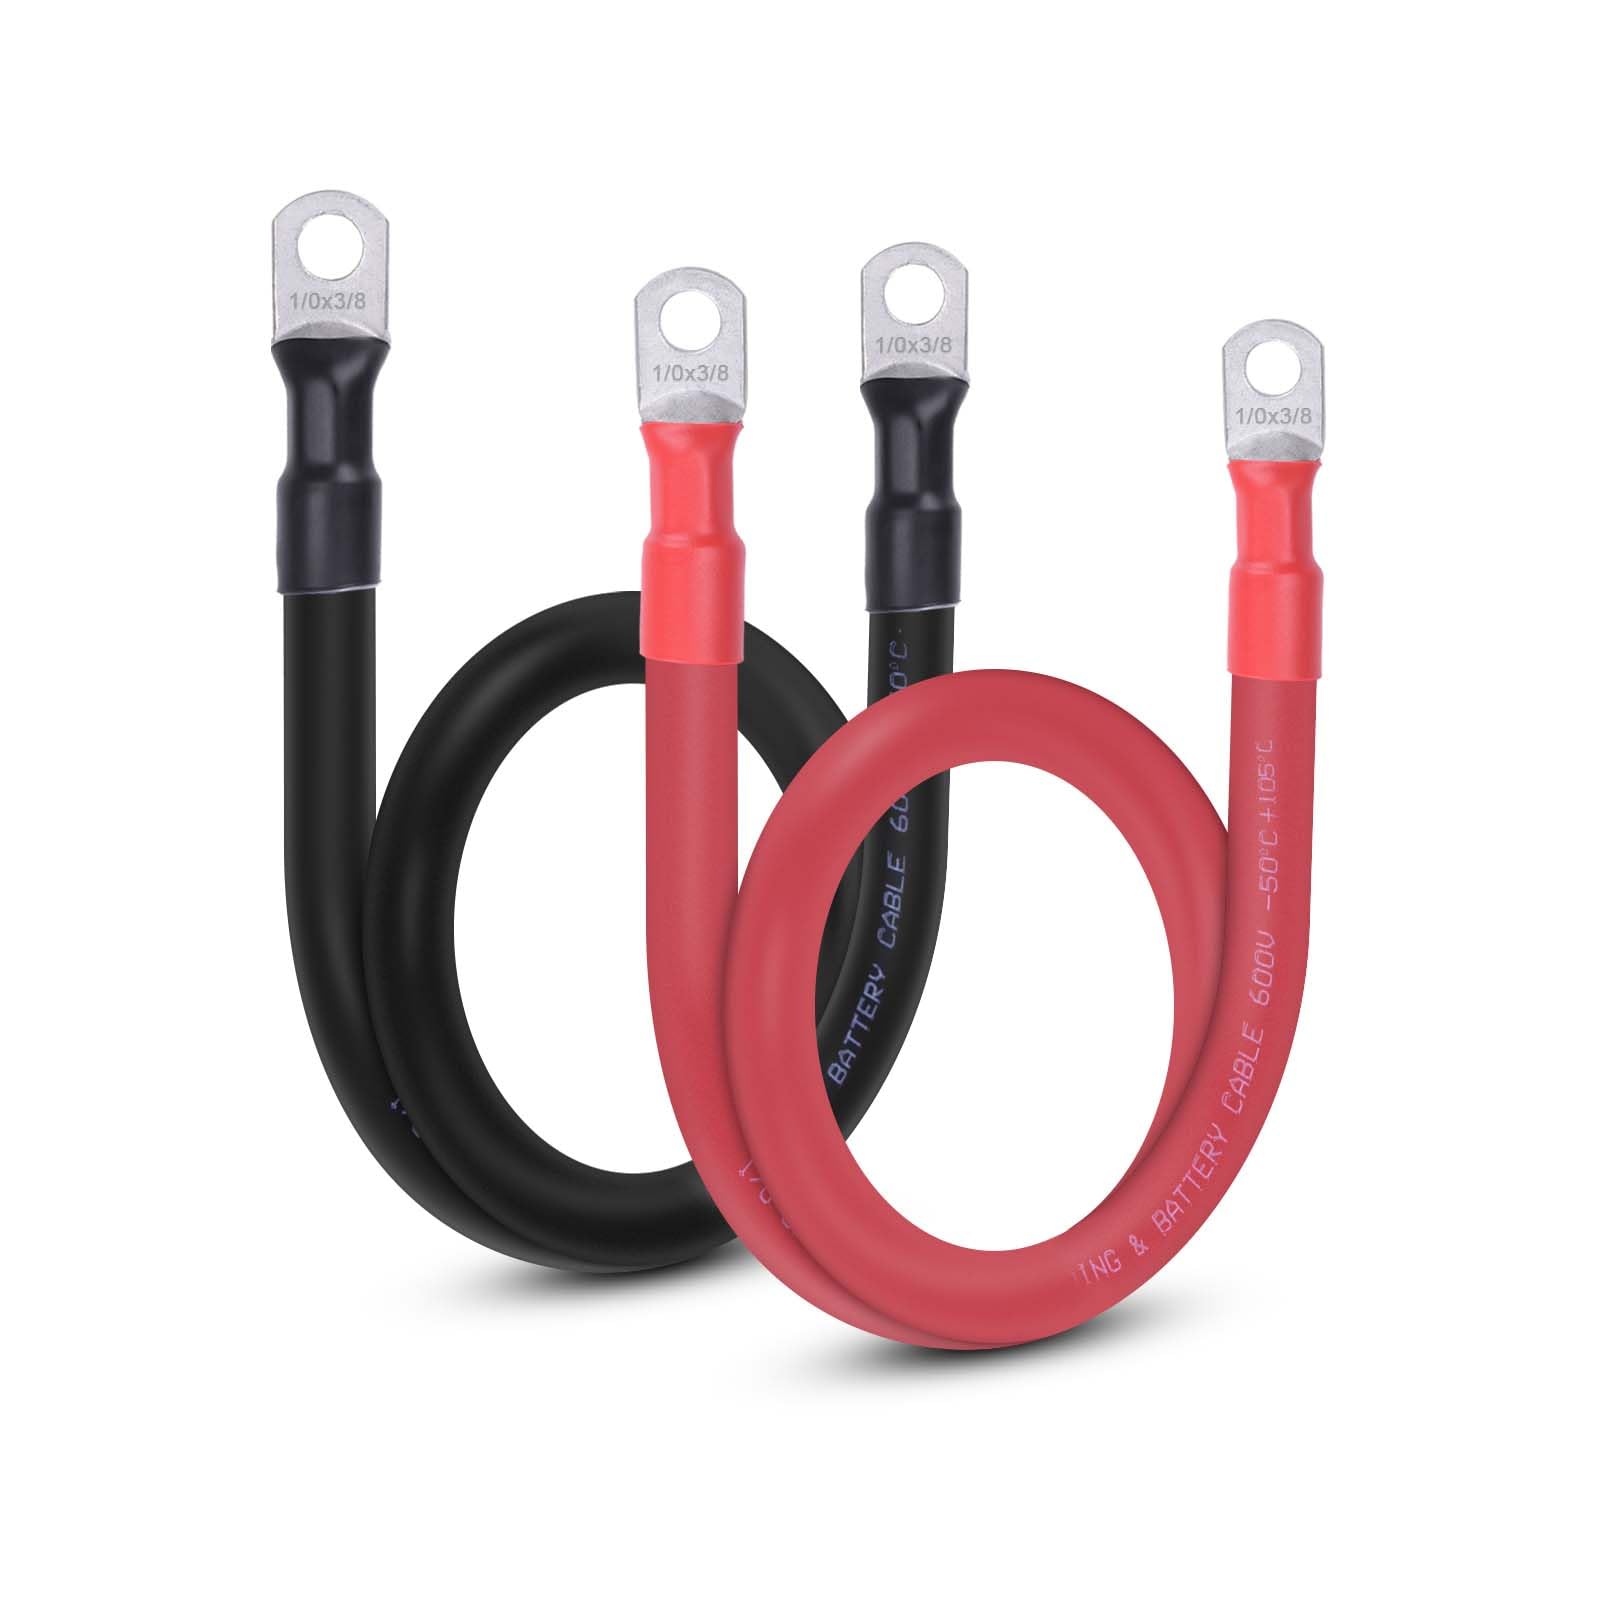
You can buy these parts in a kit for about $70–$120. It’s the most important money you’ll spend.
Here’s the connect-the-dots, in the right order:
When you’re ready to power it on for the first time: flip the battery disconnect ON, wait for the MPPT controller to wake up, then turn on the inverter. To power down, do it in reverse.
📋 Permits and your local AHJ: A portable, cord-and-plug build that only powers loads through its own outlets is usually treated like an appliance and needs no permit. But a permanently mounted system — even off-grid — can trigger local electrical code, and the moment you tie into house wiring (a transfer switch, a backfed breaker, any hardwired pass-through) your Authority Having Jurisdiction (AHJ) — usually the city or county building department — requires an electrical permit and inspection under the NEC as adopted locally. Here’s the catch for DIY: recent IRC/IFC editions expect a UL 9540-listed energy storage system, and a self-assembled battery-plus-inverter generally can’t be listed as a system (component listings such as UL 1973 aren’t the same thing). That’s a strong reason to keep a DIY build genuinely off-grid and standalone — and to call your building department before wiring anything to the panel.
I had everything wired up. Battery, charge controller, inverter. A thing of beauty. To test it, I plugged in my 1500W shop heater. It kicked on… and then five seconds later, the inverter shut off with a sad little beep. I tried again. Beep. I was about to blame the brand-new inverter when I caught a whiff of something… like hot plastic.
I cautiously touched the thick red cable running from the battery to the inverter. Yikes. It was shockingly hot. My mistake? I’d used 4 AWG wire I had lying around, thinking “it looks thick enough.” It wasn’t. For a 2000W inverter pulling over 160 amps from a 12V battery, 4 AWG was like trying to drink a milkshake through a coffee stirrer. The wire was getting so hot that the voltage was dropping dramatically before it even reached the inverter, causing it to shut down to protect itself.
The lesson: Don’t guess with wire gauge. I learned that day that for a high-power 12V system, you have to use ridiculously thick 1/0 AWG copper cable for the battery-to-inverter run. It felt like overkill, but it’s the only way to safely deliver that much current without turning your expensive cables into dangerous little heaters. The $20 I “saved” on cheaper wire almost cost me a $500 battery.
Look, I love my DIY setup, but I’ll be the first to admit it’s not for everyone. There are three times I’d tell a friend to just buy the EcoFlow or Jackery:
For pretty much any other stationary use — garage, workshop, RV, cabin — DIY is the way to go.
Here’s my bill of materials with direct Amazon.com links. Sequence is exactly how I assembled it:
Build total: about $1,375 (swapping the foldable blanket for a rigid 400W panel drops it closer to ~$1,200).
Pre-built power stations as an alternative:
A note on availability: If a main pick is sold out, the alternatives I listed in each component section above are direct drop-in replacements — same safety class, similar performance, similar price range. Links marked with (*) are affiliate links; no extra cost to you.
So, should you build your own? It comes down to this:
Go DIY if…
Buy a power station if…
For me, the choice was easy. I built this beast for my workshop, and I bought a small Jackery Explorer 500 for weekend trips. It’s the best of both worlds, and together they still cost less than one of those giant, all-in-one units.
LiTime
$519.99
Prices & availability may change.

$179.99
Prices & availability may change.

Victron Energy
Current price & reviews on Amazon
Prices & availability may change.

$422.99
Prices & availability may change.
Shirbly
$29.99
Prices & availability may change.

EF ECOFLOW
$1,699.00
Prices & availability may change.

Jackery
$798.99
Prices & availability may change.
Stationary use — yes, and usually cheaper with more usable capacity. For mobile use (weekend camping, festivals, job sites), app ecosystems and millisecond UPS switchover, pre-built power stations like the EcoFlow DELTA Pro or Jackery Explorer 2000 v2 are still more practical. My rule of thumb: if the setup lives in one spot (garage, workshop, permanent RV build), DIY wins. If you move it every couple weeks, the pre-built box wins.
For short bursts you can get away with less, but a sensible minimum is 2 kWh usable — meaning 200 Ah at 12V or 100 Ah at 24V. For continuous 2000W loads I lean 24V: the current roughly halves (~80A vs 160A), so cables and fuses get cheaper and voltage drop shrinks for the same wire. For longer off-grid stays, parallel two LiFePO4 batteries through a shared BMS.
Yes, if you want your panels to actually charge the battery efficiently. A PWM controller wastes 15–30% of harvested power because it discards panel voltage above the battery voltage. MPPT (Maximum Power Point Tracking) reclaims that energy. The critical sizing rule: the MPPT's max input voltage must exceed your panel's open-circuit voltage × 1.25. Victron SmartSolar 100/50 is my go-to for 12/24V builds.
For compact use up to ~2 kWh, a pre-built unit is often as cheap and far easier — a Jackery Explorer 2000 v2 (2.04 kWh) is about $799. DIY pulls ahead as you scale: a premium 24V build at ~7.2 kWh runs roughly $1,600–1,800 in components, while a pre-built of that size is rare under $2,500, and you can keep expanding for ~$290 a battery. So DIY's win is usable kWh per dollar at larger sizes plus expandability — not undercutting a discounted 2 kWh box.
With proper fusing — a class-T or ANL fuse at the battery positive terminal and a GFCI breaker on the inverter AC output — and a certified LiFePO4 battery with built-in BMS, a DIY setup can be very safe. But unlike a brand-name power station it isn't a factory-tested, listed system, so safe assembly is on you. Three things matter most: a certified BMS, a fuse sized to your cable's ampacity and the inverter's surge (commonly ~300A for a 2000W 12V build), and correct cable gauge (1/0 AWG at the inverter input on a 12V system).
At current prices the build runs about $1,375 with the foldable panel — roughly $520 battery (LiTime 200Ah/12V, 200A BMS) + $180 2000W pure-sine inverter + ~$200 Victron MPPT + $423 foldable 400W panel + ~$50 pure-copper cable and fuse (a rigid panel instead drops it to about $1,200). That's actually more than a $799 Jackery 2000 v2 of similar capacity, so DIY isn't the cheaper route to 2 kWh. Its edge is expandability and capacity per dollar as you scale up — add a second battery to roughly double capacity, whereas expanding an EcoFlow DELTA Pro means a battery pack at $1,000+.
Amazon is usually competitive and convenient for LiTime, Renogy, Eco-Worthy, BougeRV and Victron components, and often runs 10–20% below manufacturer-direct — but it's worth comparing before you buy. Watch for Prime Day and Black Friday: LiTime drops 200Ah LiFePO4 batteries toward $370 during major sales. Buying through Amazon also means easy returns if a component fails on arrival.
Be realistic: 400W of panel in 4–5 peak sun hours yields only about 1.2–2 kWh per clear summer day after controller and battery losses — less than one full charge of a 2.56 kWh battery, and 200W is half that. Use NREL's PVWatts calculator for your ZIP code to estimate. In winter you'll see 50–70% less. For dependable year-round off-grid, plan on 600W+ of panel plus a DC-DC charger from a vehicle alternator.
The two non-negotiable rules: (1) inverter and battery must share the same system voltage (12V or 24V — pick 24V for 2000W+ setups to halve cable current). (2) MPPT charge controller's max input voltage must exceed panel V_OC × 1.25. Mixing voltages or undersizing the MPPT input range will void warranties or fry the unit.
Keep Reading
Power & Energy
12V or 24V for a 2000W inverter? We compare current draw (~170A vs ~85A), cable gauge, cost and efficiency — and when 12V is fine vs. when 24V is the clearly better choice.
Smart Home
The best 3D printers under $500 for US buyers in 2026: Bambu Lab A1, A1 Mini, Elegoo Centauri Carbon and Creality K1C compared, with picks and prices.
Power & Energy
How much battery for a PSPS outage? Shutoffs run 24–72 hours. We size it by load — fridge (~1–2 kWh/day), essentials, whole-home — and explain why solar recharge matters for multi-day outages.